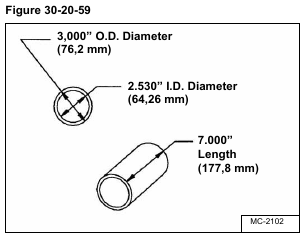
It is necessary to locate or fabricate a press tool for this procedure. Refer to photo [Figure 30-20-59] for the
correct dimensions of the tool needed.
A hydraulic press, slide hammer with puller end and snap ring pliers are also recommended for this procedure.
Remove the motor carrier shaft seal. (Refer to Disassembly on Page 30-20-4)
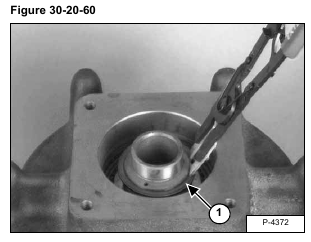
Remove the snap ring (Item 1) [Figure 30-20-60] from the motor carrier shaft using the snap ring pliers.
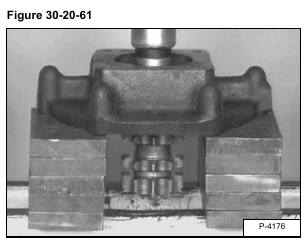
Put the motor carrier in the hydraulic press as shown [Figure 30-20-61].
Use 2-1/4 inch driver tool and press the sprocket shaft out of the motor carrier housing [Figure 30-20-61].
NOTE: The outer bearing will now be free from the sprocket shaft.
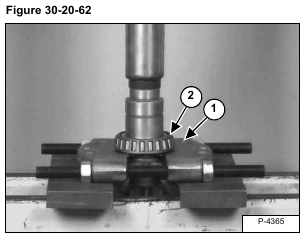
Remove the housing from the press and install a bearing puller (Item 1) [Figure 30-20-62] on the sprocket shaft.
Put the assembly in the hydraulic press. Use the same tool driver and remove the bearing (Item 2) [Figure 30-
20-62] from the shaft.
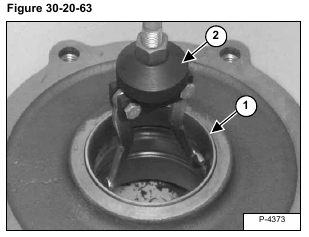
Fasten the carrier motor housing to the work surface securely with the inner bearing race (Item 1) [Figure 30-
20-63] facing up.
Install the slide hammer with puller end (Item 2) [Figure 30-20-63] on the bottom side of the bearing race.
Remove the bearing race from the carrier housing [Figure 30-20-63].
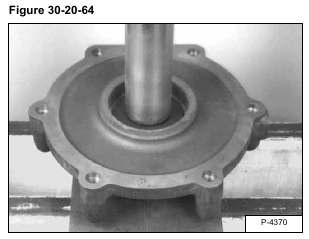
Put the motor carrier housing in the hydraulic press as shown [Figure 30-20-64].
Use a 3-7/8 inch driver tool and press the outer bearing race from the housing.
Check all parts for wear and damage. Replace the bearing race when new bearings are to be installed.
