NOTE: The door and front windows are supplied as kits that include the glass, urethane adhesive,
combo primer, glass cleaner and bumpers for correctly installing the new glass.
Remove the front window or door that is to be repaired from the excavator.
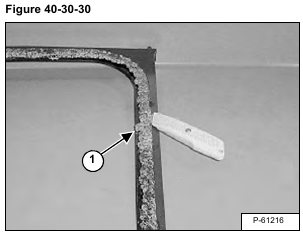
Remove the broken glass (Item 1) [Figure 40-30-30].
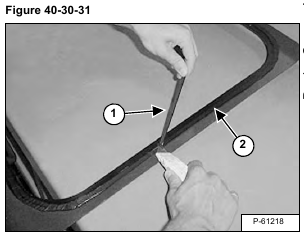
Cut and remove the old urethane adhesive (Item 1) and leaving less than a 0,79 mm (0.03 in) thick layer (Item 2) [Figure 40-30-31] for the new adhesive to bond to.
NOTE: Use care not to scratch the paint on the frame.
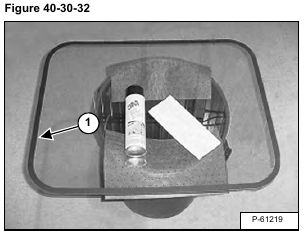
Place the glass on a flat surface with the painted side of the glass (Item 1) [Figure 40-30-32] facing up.
Thoroughly clean the entire glass with glass cleaner.
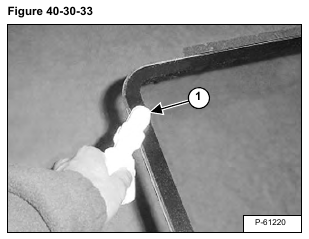
Apply one coat of combo primer (Item 1) [Figure 40-30-33] on the painted edge of the glass.
Apply the combo primer to any scratches on the door / front window frame in the area where the glass is installed.
Allow the primer to dry for a minimum of 15 minutes.
Excess primer may be removed from the glass using a razor blade.
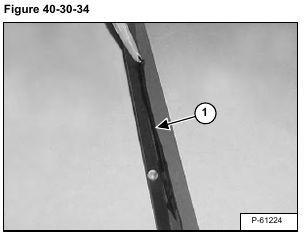
Apply a 6,4 X 9,5 mm (0.25 X 0.375 in) bead of urethane adhesive (Item 1) [Figure 40-30-34] around the front window / door frame.
Apply the adhesive directly on top of the old adhesive.
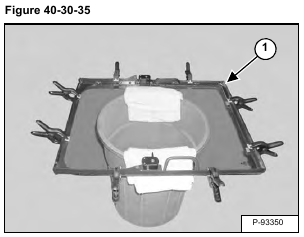
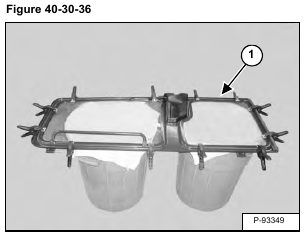
Place the frame (Item 1) [Figure 40-30-35] and [Figure 40-30-36 on Page 40-30-13] on the glass. The frame must be centered on the glass, and the glass must not have direct contact with the front window/door frame.
Place the frame and glass together (Item 1) [Figure 40-30-35 on Page 40-30-12] and [Figure 40-30-36].
Place the clamps over the frame.
Allow the adhesive to cure for a minimum of eight hours at 24°C (75°F) and 25% relative humidity before removing the clamps.
Install the front window. (See Front Window Removal And Installation on Page 40-30-5.)
Install the door. (See Door Removal And Installation on Page 40-30-4.)
