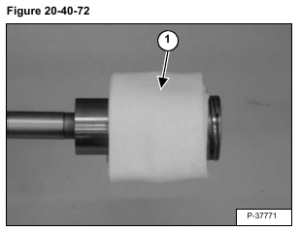
Wrap a rag (Item 1) [Figure 20-40-72] around the detent ball retainer and the centering spring. Slowly remove the retainer from the balls.
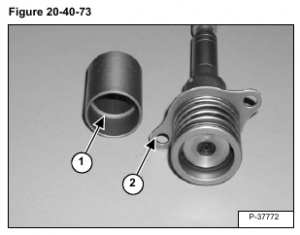
The detent retainer must be installed over the spool detent balls in the position shown [Figure 20-40-73].
The deeper counter bore end of the retainer (Item 1) goes on the spool first and will rest against the centering spring plate (Item 2) [Figure 20-40-73].
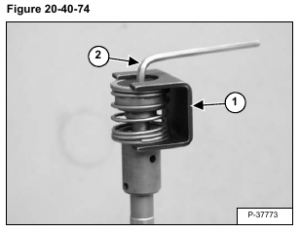
Assembly: Put the linkage end of the spool in a vise and install the MEL 1285 Compression Spring Tool (Item 1) [Figure 20-40-74].
Use an allen wrench (Item 2) [Figure 20-40-74]. to remove the bolt holding the centering spring assembly on the spool.
Installation: Tighten the bolt to 90-100 in.-lb. (10,2-11,3 N•m) torque.
Remove the assembly from the spool.
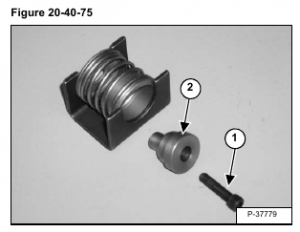
Remove the bolt (Item 1) and adapter (Item 2) [Figure 20-40-75] from the centering spring assembly. Check the condition of the bolt and adapter.
NOTE: Be careful when removing the assembly from the spring tool, the assembly is under spring
pressure.
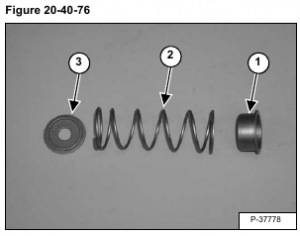
Check the condition of the collar (Item 1), spring (Item 2), and washer (Item 3) [Figure 20-40-76].
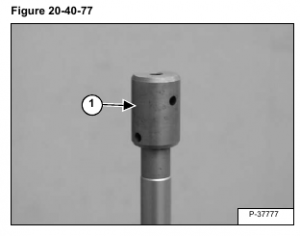
Remove the detent adapter (Item 1) [Figure 20-40-77].
Installation: Tighten the adapter to 90-100 in.-lb. (10,2-11,3 N•m) torque.
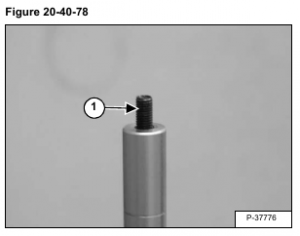
Remove the stud (Item 1) [Figure 20-40-78] from the end of the spool.
Installation: The stud will bottom in the spool during assembly.
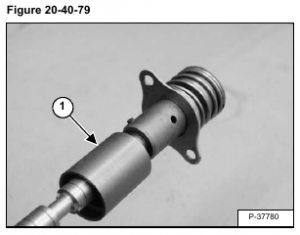
Assembly: Install the detent retainer (Item 1) [Figure 20-40-79] on the spool
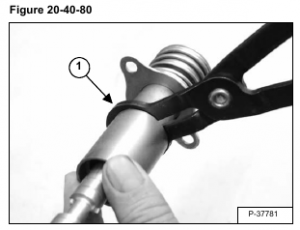
Assembly: Install the first set of detent balls and spring in the adapter. Hold the detent balls in place with the detent pliers (Item 1) [Figure 20-40-80] while installing the detent retainer.
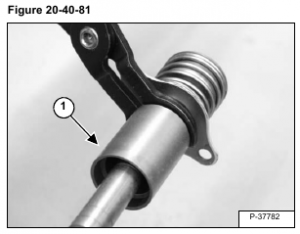
Assembly: Install the second set of detent balls and spring in the adapter. Hold the detent balls in place with the detent pliers (Item 1) [Figure 20-40-81] while installing the detent retainer.
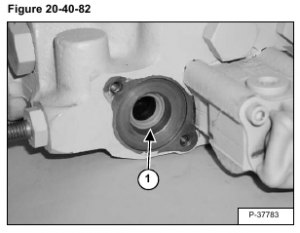
Remove the spool seal (Item 1) [Figure 20-40-82].