The tool listed will be needed to do the following procedure:
MEL1278 – Detent Tool
MEL1285 – Detent Spring Tool
Remove the end cap/spool lock block from the control valve.
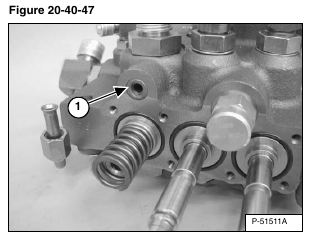
Remove the O-ring (Item 1) [Figure 20-40-47].
Installation: Replace the O-ring, and lubricate lightly with oil before installation of the end cap/spool lock block.
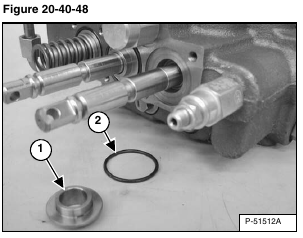
Remove the spacer (Item 1) and O-ring (Item 2) [Figure 20-40-48] from the lift spool.
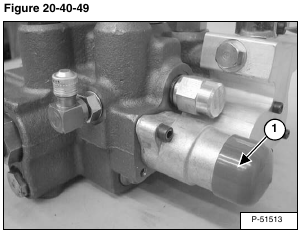
Remove the end cap (Item 1) [Figure 20-40-49].
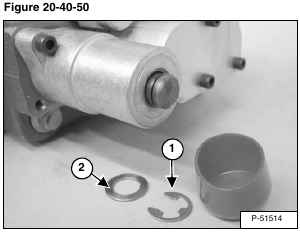
Use a screwdriver to remove the snap ring (Item 1) [Figure 20-40-50].
Remove the washer (Item 2) [Figure 20-40-50].
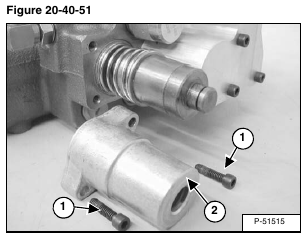
Remove the screws (Item 1) [Figure 20-40-51] from the detent bonnet.
Remove the detent bonnet (Item 2) [Figure 20-40-51].
Installation: Lubricate the screws and tighten to 90 – 100 in.-lb. (10 – 11,3 N•m) torque.
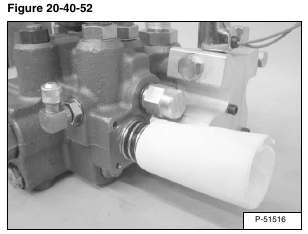
Put a rag around the detent assembly [Figure 20-40-52].
This will prevent the detent balls and spring from being lost when the detent sleeve is removed.
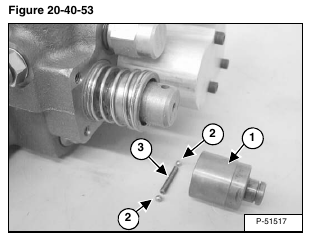
Remove the detent sleeve (Item 1), detent balls (Item 2) and spring (Item 3) [Figure 20-40-53].
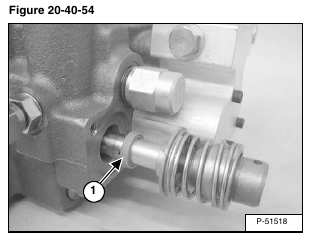
Remove the lift spool assembly and seal (Item 1) [Figure 20-40-54] from the control valve.
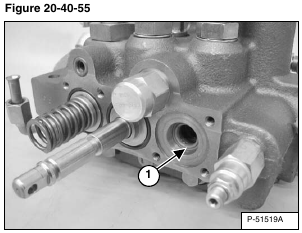
Remove the lift spool seal (Item 1) [Figure 20-40-55] from the linkage end of the valve.
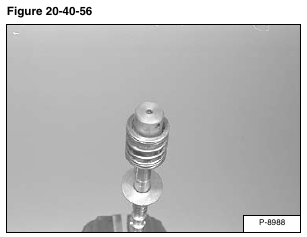
Clamp the linkage end of the spool in a vise [Figure 20-40-56].
NOTE: Protect spool before clamping in vise.
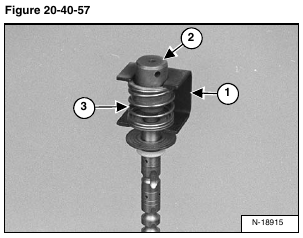
Install the spring tool (Item 1) [Figure 20-40-57] over the centering spring.
NOTE: Be careful when removing the detent adapter (Item 2) [Figure 20-40-57] from the centering spring, as it is under spring pressure.
NOTE: The centering spring (Item 3) [Figure 20-40-57] is white on all 700 series loaders.
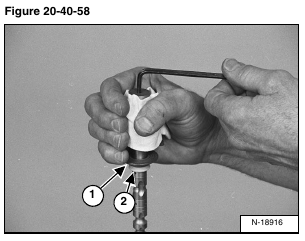
Put a rag around the detent assembly [Figure 20-40-58].
This will prevent the detent balls and spring from being lost when the detent adapter is removed.
Remove the detent adapter with an Alan wrench.
Remove the back-up washer (Item 1) and spool seal (Item 2) [Figure 20-40-58].
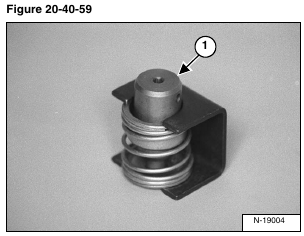
Remove the detent adapter (Item 1) [Figure 20-40-59] from the spring assembly.
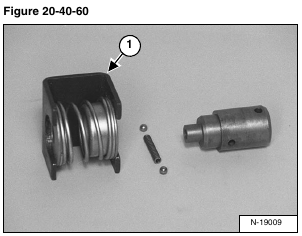
Remove spring tool (Item 1) [Figure 20-40-60] from the spring assembly.
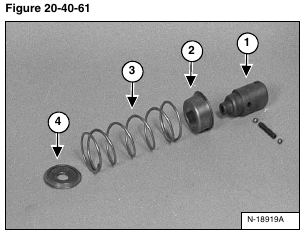
Inspect the adapter (Item 1), collar (Item 2), spring (Item 3) and washer (Item 4) [Figure 20-40-61].
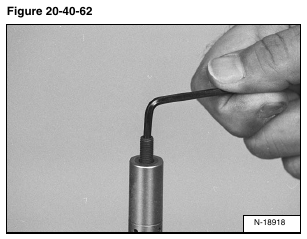
Remove the stud from the end of the spool [Figure 20-40-62].
Removal of the plastic plug:
Make a center point in the plug using a 1/16 inch drill.
Drill a hole all the way through the plug using a 7/64 inch tap drill
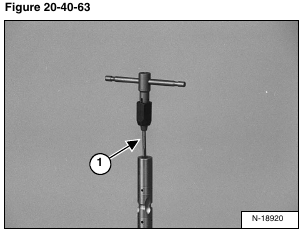
Turn a 6-32 tap (Item 1) [Figure 20-40-63] into the plug.
Pull the tap and plug out of the spool. Be careful, do not break the tap.
Clean all the debris from inside the spool bore.
NOTE: DO NOT USE Loctite® ON THE STUD THREADS.
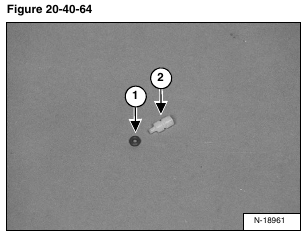
Install the O-ring (Item 1) over the nipple on the plastic plug (Item 2) [Figure 20-40-64].
NOTE: Check the O-ring for damage. The lift spool will have an internal leak if there is damage to this O-ring. Always replace the o-ring and recheck the lift spool before the control valve is replaced.
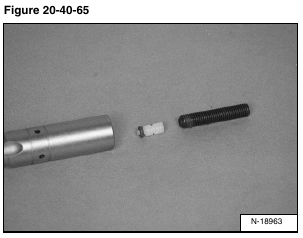
Install the plastic plug and O-ring in the spool [Figure 20-40-65].
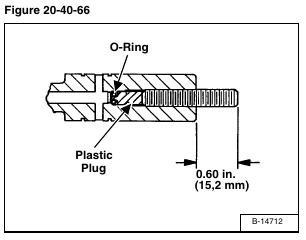
Install the stud and tighten until the other end of the stud is out about 0.600 in. (15,2 mm) from the spool [Figure 20-40-66].
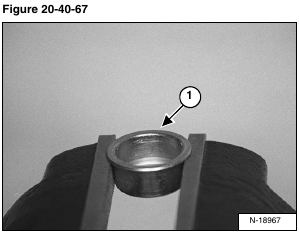
Clamp the collar (Item 1) [Figure 20-40-67] in a vise.
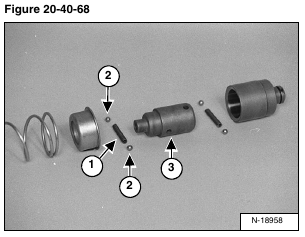
Apply grease on all the detent component surfaces before assembly [Figure 20-40-68].
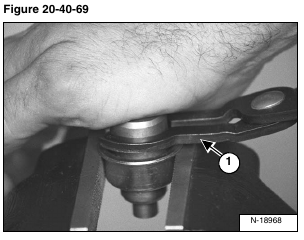
Install the spring (Item 1) and detent balls (Item 2) into the adapter (Item 3) [Figure 20-40-68] and compress with the detent pliers (Item 1) [Figure 20-40-69].
Install the detent adapter to the collar [Figure 20-40-69].
NOTE: The collar and the detent adapter are held together by spring pressure when assembled
to the lift spool not the detent balls. Hold the detent adapter and collar together to prevent the detent balls and spring from falling out.
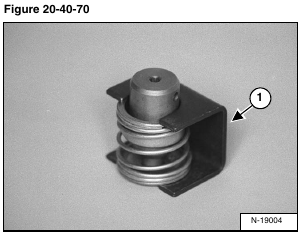
Install the spring tool (Item 1) [Figure 20-40-70] over the washer, spring, collar and detent adapter.
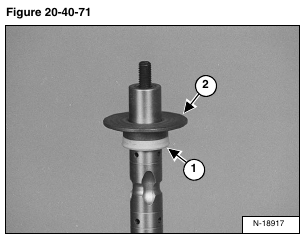
Install the spool seal (Item 1) and back-up washer (Item 2) [Figure 20-40-71].
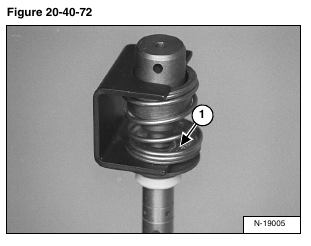
Install the spring assembly to the lift spool hand tight [Figure 20-40-72].
Remove the spring tool.
Check the alignment of the detent adapter and the washer.
Tighten the adapter to 90 – 100 in.-lb. (10,2 – 11,3 N•m).
NOTE: The adapter must fit in the center of the washer (Item 1) [Figure 20-40-72].
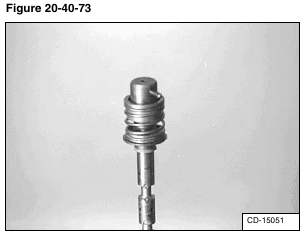
Install the detent balls and spring [Figure 20-40-73].
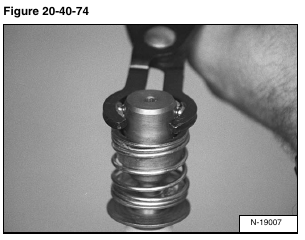
Hold the detent balls in place with the detent pliers [Figure 20-40-74].
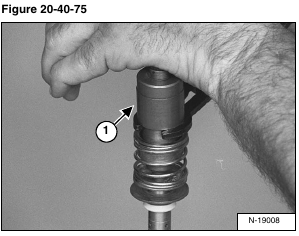
Install the detent sleeve (Item 1) [Figure 20-40-75] to the detent adapter.
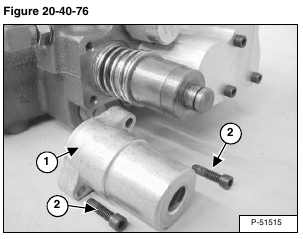
Install the lift spool assembly in the spool bore [Figure 20-40-76].
Install the detent bonnet (Item 1) [Figure 20-40-76].
Install the mounting screws (Item 2) [Figure 20-40-76].
Installation: Lubricate the screws and tighten to 90 – 100 in.-lb. (10 – 11,3 N•m) torque.
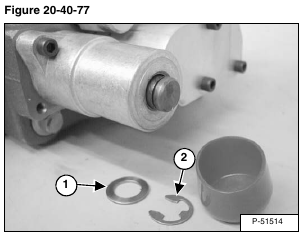
Install the washer (Item 1) and snap ring (Item 2) [Figure 20-40-77].
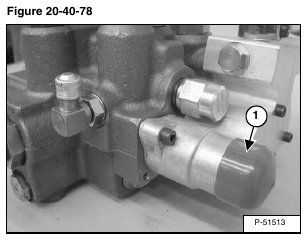
Install the end cap (Item 1) [Figure 20-40-78].
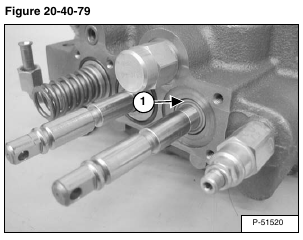
Install the spool seal (Item 1) [Figure 20-40-79] on the linkage end of the valve.
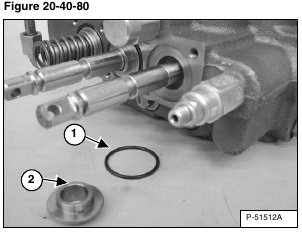
Install the O-ring (Item 1) and bushing (Item 2) [Figure 20-40-80] on the lift spool.
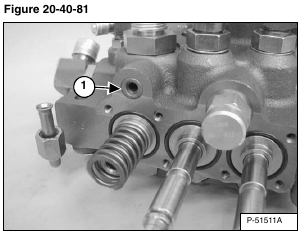
Install the O-ring (Item 1) [Figure 20-40-81] on the control valve.
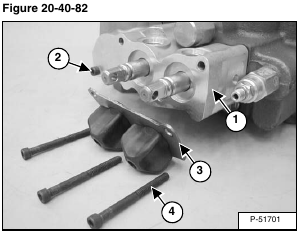
Install the end cap/spool lock block (Item 1) and the mount bolt (Item 2) [Figure 20-40-82].
Install the lift and tilt spool rubber boots and mount plate (Item 3) and install the three mounting screws (Item 4) [Figure 20-40-82].
Installation: Tighten the screws to 90 – 100 in.-lb. (10 – 11,3 N•m) torque.
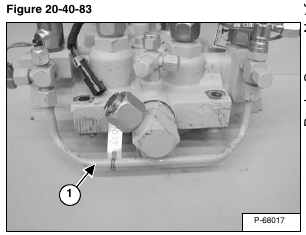
Connect the tubeline (Item 1) [Figure 20-40-83].
Use an Ohm meter to measure the lock solenoid coils resistance.
The correct resistance for the coil is 5.5 ± 0.28 ohm.
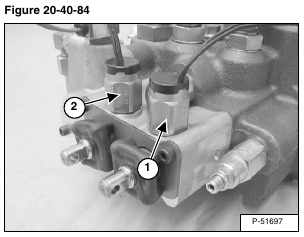
Installation: Install the lift spool (Item 1) and tilt spool (Item 2) [Figure 20-40-84] lock solenoids and tighten to 35 – 45 ft.-lb. (52 – 61 N•m) torque.
